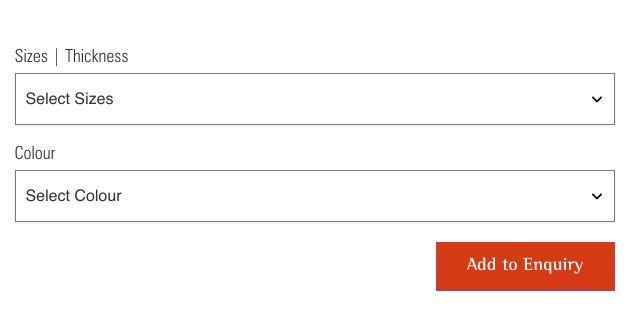
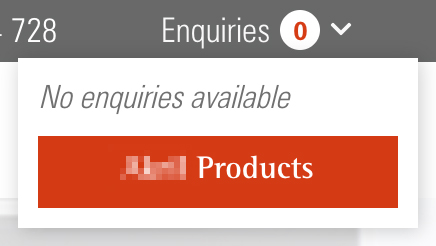
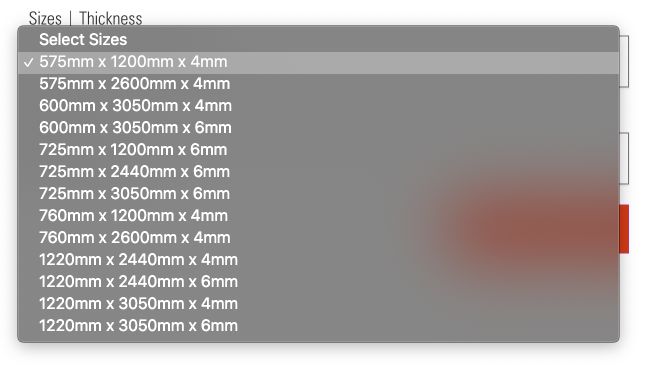
Developed for a home-improvement company in Australia. These three separated widgets are part of their website which provides a custom product enquiry process.

This article may contain some technical terms which provides an overview of how I constructed this custom functionality. If you have any questions, please let me know.
What is the main problem?
This time, the problem will not come from the client but the development approach. The client only wants a separate enquiry form for each product. These forms work like an “add to cart” functionality in an e-commerce website. But instead of adding the products to the cart, they want their customers to add the products in the global enquiry email.

The main enquiry form was generated using Contact Form 7, a contact form generator in WordPress.

I can just create separate enquiry forms in Contact Form 7 then add them to each product. I can also customize these forms to disable the form submission and just save the submitted values into some kind of storage like the Local Storage.
That would be a good solution, right? But there are features that the client wants that will just make the functionality development complicated.
First, the client wants a “cart” like widget where they can see the products that were added to their enquiries. For every product that was added and removed, the “cart” like widget needs to update as well.

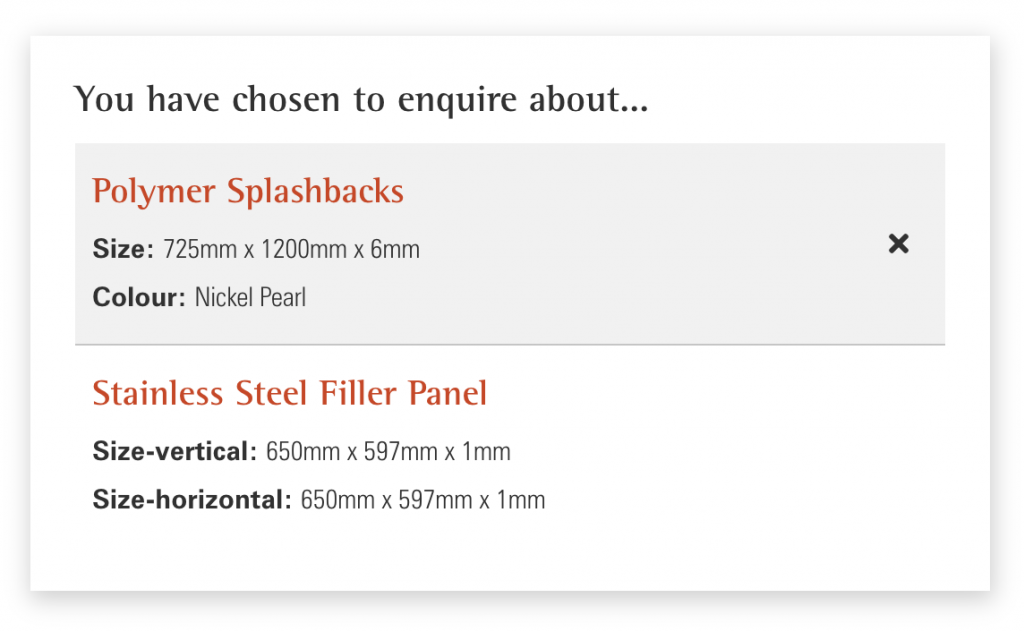
Another feature, although this feature was not requested by the client. I want to add a section in the main contact form where the customers can see all the products they have added, the customers can also remove a product if they want. I think adding this feature will improve the user experience.

I’m sure you notice what will be the issue.
Each widget is separated but these widgets must communicate to each other to update their view or their UI. The widgets must share the same state so they will update in real-time.
You might notice as well that these widgets are located in a different part of the website, one in single product pages, the “cart” like widget is in the main header and the overall enquiries list is on the Contact page. They don’t share the same parent DOM element.
A little heads up! These widgets are built using React but if you know how React works, all the components are rendered to a parent DOM element by default.
Now let us go to the next section and talk about how I built the features and came up with a solution.
How I built the application?
I’m not saying that this is the correct way of doing this kind of customization but I just want to share how I did it. I know there are lots of ways how to accomplish this. Please understand that these are just an overview and not the complete process.
Let us talk about how I built each feature first and later how I connected each widget.
The enquiry forms:
All the form data was dynamically generated by the back-end. The client website was using Advanced Custom Field plugin, a plugin that provides custom fields or data. I think it’s better and much faster to use it than to build a custom form input generator.

Then I used these form input data and integrate them with Formik so that I have a dynamic form for each product.

These forms do not need to send something, it just needs to update the state. I used React Context and React Hooks to control the global state instead of Redux state management package. If the customer submits the form, the submitted values will be saved to the global state.
The “cart” like widget or the overview enquiry widget:
This widget was located in the main header. This widget will show the total of enquiries the customer has and also the title of the items.

Whenever a customer submits a product enquiry or removes an item, this widget will update.
This widget gets its data to the global state. This widget was built also using React but in separate parent DOM element.
The overall enquiries list:
This section was added to the main contact page. Before the customers submit their message, they can review their products. They can remove product items if they want.

All the products that they have added will be included in the main contact form submission.
This was also rendered on a different parent DOM element, and it gets its data to the same global state as well.
How the components communicate?
So the question is how I connect these three components and make them share the same global state?
Well, React has a feature called Portals, you can create different React components and attached them to a different parent element. Basically, this portal serves as a bridge to these separated components so they can still communicate (in a way).
In my case, I just created different portals by using the “createPortal” method and enclosed all the components into the context provider. By doing this, even though they are separated they will still share the global state.
To be honest, I can’t remember what is the exact reason why I came up with this approach. As far as I can remember, my first solution was to depend only on every update of my global state in Local Storage.
That solution was not working, I’m not sure why. When I tried testing it by adding a new product enquiry, the overview widget in the header was not updating in real-time. The overview widget will only update after the next product enquiry submission, some sort of a delayed update.
Well, I have deadlines to meet, I need a better solution and Portals help me with these issues.